Pita and Falafel
I freaking love falafel. I attempted to make it once before and the soaked garbanzos just weren't soft enough. The result was a chalky mess that didn't hold together while frying--it still tasted good but it resembled a very fine ground beef. In other words, it was fal-awful. Yeah, it's been a long two weeks so far. Stay with me.
This time I decided to soak the heck out of those beans. Two cups of beans went into a Cambro storage container with about 3" of water. I covered it and let it sit for about 20 hours--remember, last time overnight soaking just did not cut it.


The time was worth it though. Look at how nice and clean we are! They kind of made me think of Corn Nuts...BBQ, please.


I added the garlic, salt, black pepper, cumin, and coriander. I didn't have fresh or dried dill so I just left it out. I also didn't add the optional cayenne.

Nice, mold-able texture!. I put it into a container and popped it into the refrigerator to await dinnertime.
Homemade pita just seemed the only viable vessel for these very promising falafel so I pulled up a recipe that I had been scrutinizing and got the ingredients onto the counter. Because pita is best eaten fresh, I had a few hours to kill before I needed to get it going. So I went and did productive things. I really did.

The pita starter is warm water, yeast and some honey. I introduced them and was gratified to see that it started bubbling within a couple of minutes; I've been baking a lot of sourdough so I wasn't sure if the rise was due entirely to the sourdough starter. Glad to see the yeast is not just along for the ride.

I mixed the flour and salt in a wide, flat-bottomed plastic bowl. The recipe said to make a well. Mine was more of a sad pothole.

I oiled up a second bowl in preparation for the dough ball.

Since I never made this before, I wanted to get a feel for the dough. It's easier to use a mixer but you really need to touch dough to know what it should be like. I gave it a quick mix with a wooden spoon.

The ingredients formed a shaggy ball. Now when this happens I get a little nervous because sometimes it means the dough is going to decide to be difficult. It's tempting to add a little more liquid at this point because the fear-of-my-dough-not-coming-together is a very real phenomenon. It was time to drop the spoon and get in with my hands.

Huge relief! As soon as I started gathering the dough, I could feel it had enough moisture and it would come together quickly--and it did! This is after less than a minute of hand-mixing. At this point, I decided to take the dough out and knead it on the counter. In less than 5 minutes I had a beautifully smooth and elastic dough.

Remember the oil-prepared bowl? In it went. I rolled it around till the entire surface was coated an then covered it with a dish towel. I strongly suggest, recommend, order you to have dish towels whose sole purpose in life is to cover your dough. Or to keep freshly baked bread warm. The dough needed to sit for two hours so as before, I wandered off to do things.

One thing I did was clean the annoyingly tacky sticker off of my bread stone. I bought it a while ago and never used it till now. All washed up and ready to boogie.
Fast forward two hours...

I can't believe I had doubts about my yeast. The dough was wonderfully airy!

I gently tipped it out of the bowl onto a lightly floored countertop.

I made an attempt to divide the dough into 8 equal portions but I am proportion-challenged.

This dough is wonderfully pillowy and so easy to handle. I'm sold on it!

It was easy to shape but for some bizarre reason, this is the only one I made round. I started channeling naan so subsequent shapes got rather oblong-y.

Then began one of the craziest multi-tasking cooking episodes I ever had. The stone was on the lowest oven rack at 500 degrees. I would throw the pita on and turn the oven timer on for 3 minutes and then I'd run to the frying pan to keep cooking the falafel...

The falafel mixture had stayed wonderfully malleable. I almost forgot to do the last step in the chaotic pita baking frenzy I was in--I added some baking powder and sesame seeds to the mixture and started frying in avocado oil.

The falafel took about 3 minutes per side. Then the oven timer would beep and I'd run to the oven, flip the pita and put the time on for an additional minute. It was chaotic and my FitBit better have kept up and not cheated me out of all those steps!

The pita came out great but the pocket was not as pronounced as I would have liked--it was tasty though! The towel-lined wooden bowl kept them warm and soft all through dinner. Remember what I said about having designated dough/bread towels in your kitchen!

The falafel came out well--some color variation due to my running back and forth but lovely texture and great tasting!

The interior of the falafel stayed a pretty green color thanks to the parsley/cilantro.

Some cucumber salad, hummus and tahini were great accompaniments!
All the guys gave the meal a thumb's up. I'd give it a 5 turtle rating. Out of 5, silly.

Here are the promised links:
Falafel
Pita
Equipment recommendation:
The pizza stone
This time I decided to soak the heck out of those beans. Two cups of beans went into a Cambro storage container with about 3" of water. I covered it and let it sit for about 20 hours--remember, last time overnight soaking just did not cut it.

By the time I started to clean the skins off the beans, the water had turned a cloudy beige color. I poured it off and added some fresh water before I began rubbing the beans together in my hands. That didn't work as well as grabbing a handful of beans with one hand and just squeezing it around a bit. Then the skins really started to loosen.

This was at the beginning. By the time I was really into it, there were lots of fibrous skins. At first it was kind of cool and mildly therapeutic. After a while it got slightly obsessive--I wanted all of those skins off even if it meant going bean by bean. I should have known this is what would happen--peeling sunburn? I'm that person.

The time was worth it though. Look at how nice and clean we are! They kind of made me think of Corn Nuts...BBQ, please.

This is not the whole lot of peeled skins. Looking at it this way, I'm glad I took the time to get them all off. It would totally ruin the texture otherwise.
The beans were popped into my Cuisinart food processor--I have a 14-cup and it was pretty full once I added the cilantro and flat leaf parsley. I did a quick 20 seconds just to get things going.

I was really relieved that the beans were definitely soft enough to process easily!


Nice, mold-able texture!. I put it into a container and popped it into the refrigerator to await dinnertime.
Homemade pita just seemed the only viable vessel for these very promising falafel so I pulled up a recipe that I had been scrutinizing and got the ingredients onto the counter. Because pita is best eaten fresh, I had a few hours to kill before I needed to get it going. So I went and did productive things. I really did.
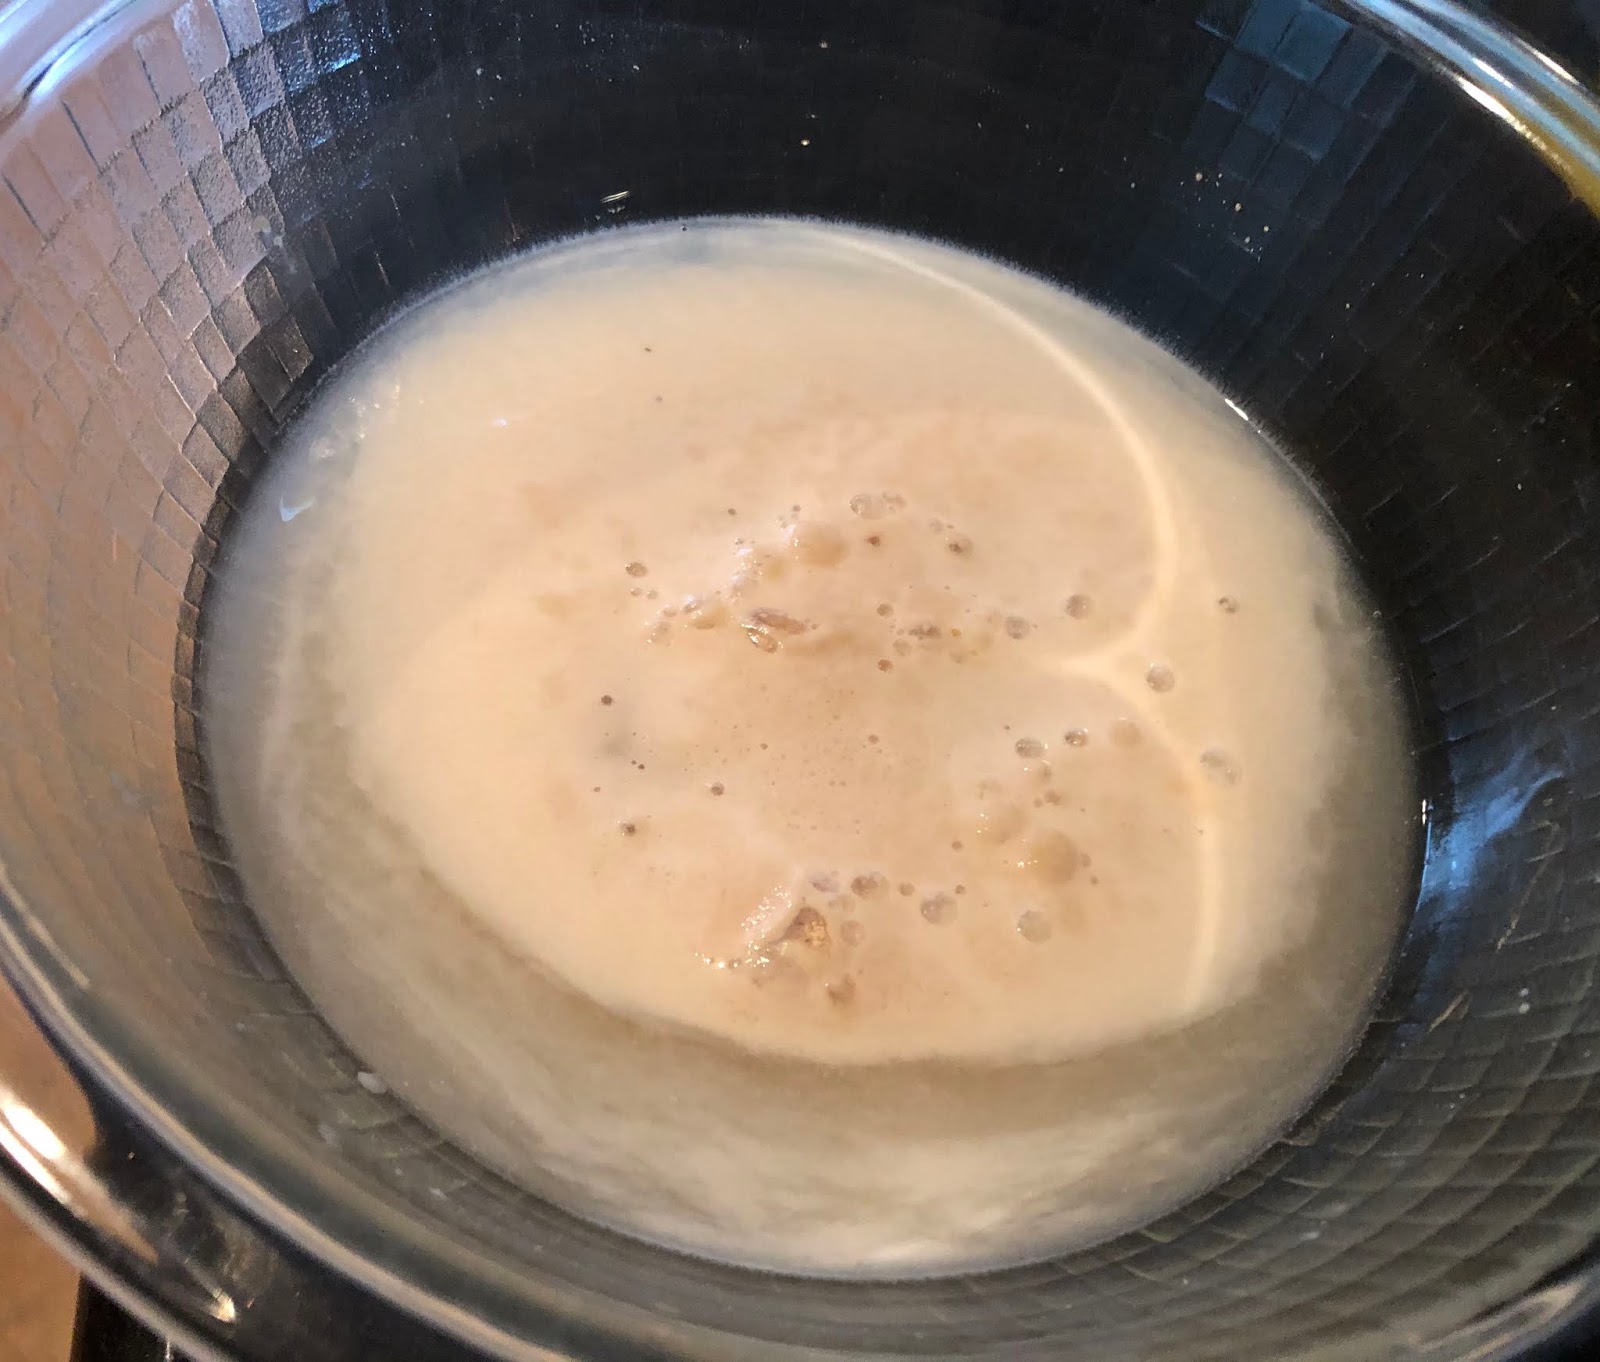
The pita starter is warm water, yeast and some honey. I introduced them and was gratified to see that it started bubbling within a couple of minutes; I've been baking a lot of sourdough so I wasn't sure if the rise was due entirely to the sourdough starter. Glad to see the yeast is not just along for the ride.

I mixed the flour and salt in a wide, flat-bottomed plastic bowl. The recipe said to make a well. Mine was more of a sad pothole.

I oiled up a second bowl in preparation for the dough ball.

Since I never made this before, I wanted to get a feel for the dough. It's easier to use a mixer but you really need to touch dough to know what it should be like. I gave it a quick mix with a wooden spoon.

The ingredients formed a shaggy ball. Now when this happens I get a little nervous because sometimes it means the dough is going to decide to be difficult. It's tempting to add a little more liquid at this point because the fear-of-my-dough-not-coming-together is a very real phenomenon. It was time to drop the spoon and get in with my hands.

Huge relief! As soon as I started gathering the dough, I could feel it had enough moisture and it would come together quickly--and it did! This is after less than a minute of hand-mixing. At this point, I decided to take the dough out and knead it on the counter. In less than 5 minutes I had a beautifully smooth and elastic dough.

Remember the oil-prepared bowl? In it went. I rolled it around till the entire surface was coated an then covered it with a dish towel. I strongly suggest, recommend, order you to have dish towels whose sole purpose in life is to cover your dough. Or to keep freshly baked bread warm. The dough needed to sit for two hours so as before, I wandered off to do things.

One thing I did was clean the annoyingly tacky sticker off of my bread stone. I bought it a while ago and never used it till now. All washed up and ready to boogie.
Fast forward two hours...

I can't believe I had doubts about my yeast. The dough was wonderfully airy!

I gently tipped it out of the bowl onto a lightly floored countertop.

I made an attempt to divide the dough into 8 equal portions but I am proportion-challenged.

This dough is wonderfully pillowy and so easy to handle. I'm sold on it!

It was easy to shape but for some bizarre reason, this is the only one I made round. I started channeling naan so subsequent shapes got rather oblong-y.

Then began one of the craziest multi-tasking cooking episodes I ever had. The stone was on the lowest oven rack at 500 degrees. I would throw the pita on and turn the oven timer on for 3 minutes and then I'd run to the frying pan to keep cooking the falafel...

The falafel mixture had stayed wonderfully malleable. I almost forgot to do the last step in the chaotic pita baking frenzy I was in--I added some baking powder and sesame seeds to the mixture and started frying in avocado oil.

The falafel took about 3 minutes per side. Then the oven timer would beep and I'd run to the oven, flip the pita and put the time on for an additional minute. It was chaotic and my FitBit better have kept up and not cheated me out of all those steps!

The pita came out great but the pocket was not as pronounced as I would have liked--it was tasty though! The towel-lined wooden bowl kept them warm and soft all through dinner. Remember what I said about having designated dough/bread towels in your kitchen!

The falafel came out well--some color variation due to my running back and forth but lovely texture and great tasting!

The interior of the falafel stayed a pretty green color thanks to the parsley/cilantro.

Some cucumber salad, hummus and tahini were great accompaniments!
All the guys gave the meal a thumb's up. I'd give it a 5 turtle rating. Out of 5, silly.

Falafel
Pita
Equipment recommendation:
The pizza stone


Enjoyed the read...cant wait for the next meal!
ReplyDeleteI meant to reply directly to you--thanks so much for stopping by, my first commentor!
Delete