Cut-out cookies fall perilously near working with pastry dough for me. When I was about fifteen or so I made cut-out cookies for Christmas. I didn't realize that re-rolling the dough, adding more flour as I went, would toughen things up. The cookies weren't bad to look at but they were even harder than biscotti...and biscotti are baked twice!
I did want to have Aiden and Layla decorate some cookies this year so I went to one of my trusted websites, in this case, Sally's Baking Addiction, and selected her cut-out sugar cookie recipe.
Here's today's cast.
Cream the butter till its smooth.
Then add the sugar and mix till fluffy.
Dry ingredients are mixed together in a separate bowl.
Add the vanilla.
And add the almond extract.
Add the dry to the wet and mix to combine.
It's a bit of a sticky dough.
Split the dough in half and place each ball on a sheet of parchment paper. Flatten into a round with your hands.
Cover the flattened dough with a second sheet of parchment paper and using a rolling pin, gently roll it to a 1/4" thickness.
You can use your hands to gently smooth the dough through the parchment paper.
Do the same for the second dough ball then stack them, place them on a pan and refrigerate overnight or up to 2 days.
When you're ready to bake, cut one dough sheet at a time and leave the other in the fridge until you're ready to use it. Lay the dough, top parchment side down, then remove the bottom parchment.
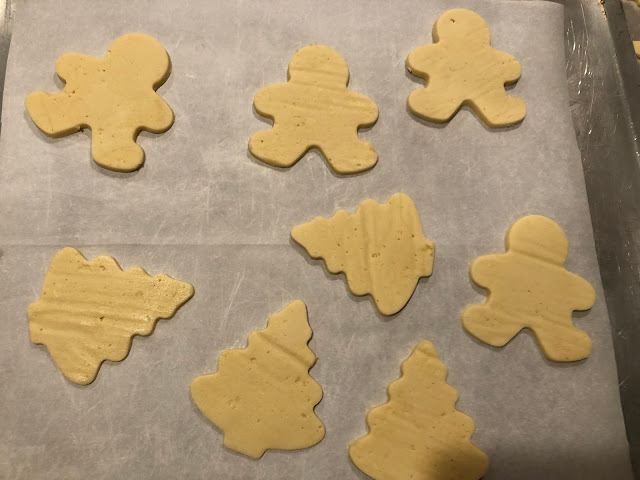
Quickly cut out the shapes of your choice and transfer them to a parchment-lined cookie sheet. It is far easier to cut the shape and use the cutter to transfer it to the sheet. Once the dough starts to soften, it will not hold onto the cutter and lifting it off the counter is much more difficult. I chose not to re-roll the extra pieces of dough; it was softening up really quickly at this point. For the second sheet of dough, I left it on the rimmed pan that it was refrigerated on and that worked better; the dough stayed colder longer so I was able to cut the shapes and use the cutter to transfer them to the sheet.
This is the second sheet--the shapes stayed much more uniform. Bake at 350F for 10-12 minutes or until edges and tops are lightly browned.
A couple of the trees got browner because they were cut from the thinner edge of the dough sheet. I let them cool completely before I packed them into an airtight container overnight.
The next morning I mixed confectioner's sugar with vanilla and cornstarch.
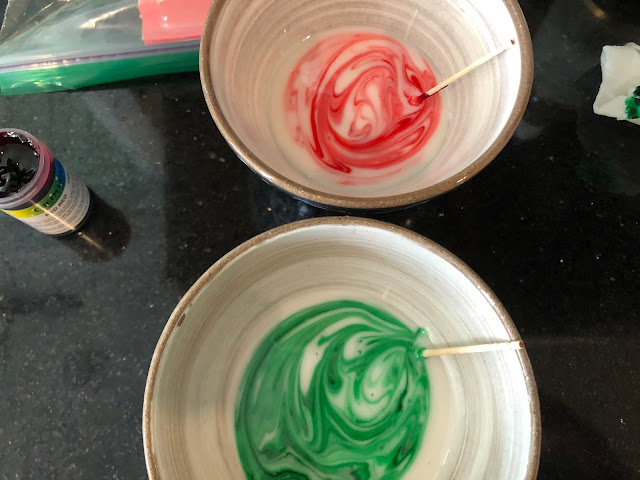
Cold water was added till the icing was thick, but pipeable...or in this case, squirtable.
I had purchased gel food coloring from The Compleat Kitchen.

A little of the gel coloring goes a long way. I used a toothpick to dip up some coloring to mix into the icing.
This is literally with just a couple of droplets in each bowl.
I added a bit more to each bowl to intensify the colors.
Then I used another type of gel coloring to make blue and purple.
I filled the squeeze bottles and with the help of the uncles, we set to work.
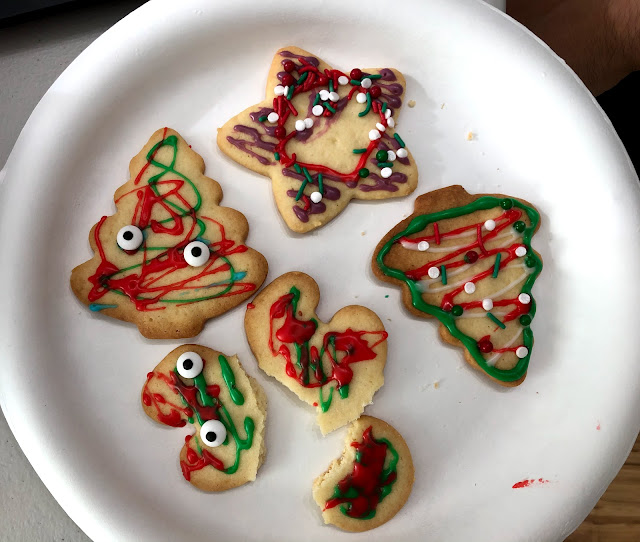
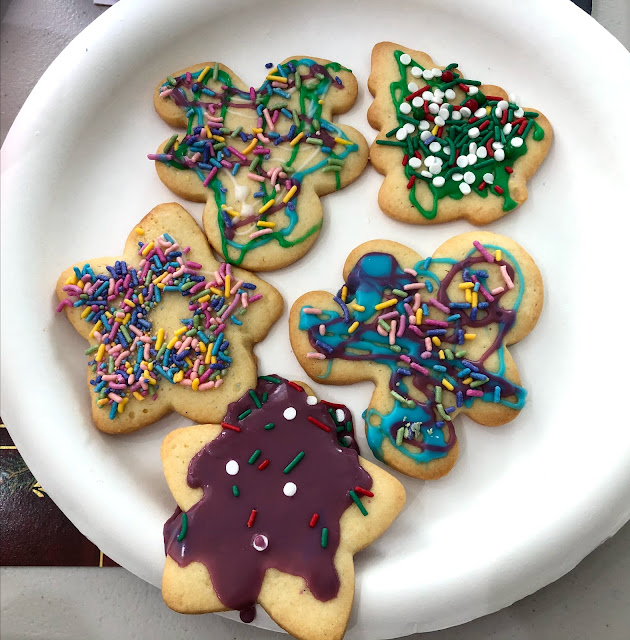
The squeeze bottles were still a little hard for the kids to manipulate without help--even when we cut the nozzles to make the openings bigger. Layla was more interested in the sprinkles and Aiden decided that stabbing the cookies with the squeeze bottle would work better. It didn't.
Aiden's cookies, with Chris's help.
Layla's cookies with Tom's help.
It was a lot of effort for 10 minutes of decorating. Ah well, next year.
The sugar cookies are crisp and pretty simple to make provided the dough is well-chilled. Flavor-wise they are rather bland and the icing just makes them sugary. Not a great eating cookie but it worked well for decorating.
Here's the promised link:


Comments
Post a Comment