Layla is such a picky eater that planning her birthday cake was more about the visual aesthetic than what cake recipe to use. Since she does like bananas, I figured I would make a banana cake and who knows? Maybe she would try it if the smell was somewhat familiar!
Here's the cast for the cake.
I really wanted to use this cool cake mold with some of her favorite critters. I generously greased each nook and cranny with Nancy's lining paste.
I also wanted to try and make a large ladybug as the centerpiece. I figured if the cake mold didn't work, I would have a back-up or vice versa. I did not want to think of what would happen if either didn't come together!
Dry ingredients into a bowl.
The butter and sugars were creamed together.
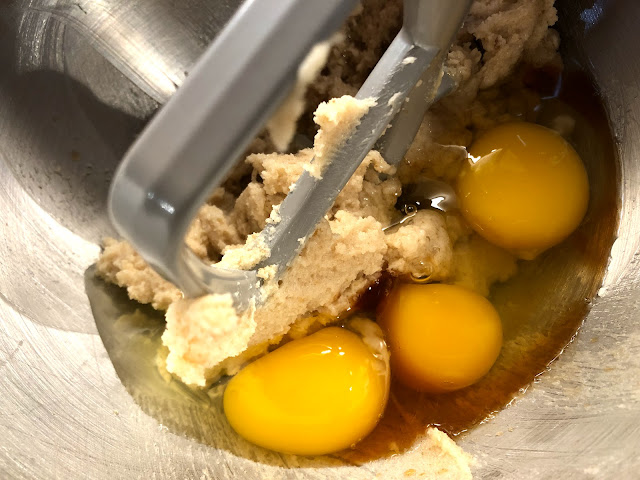
The eggs and vanilla were added next.
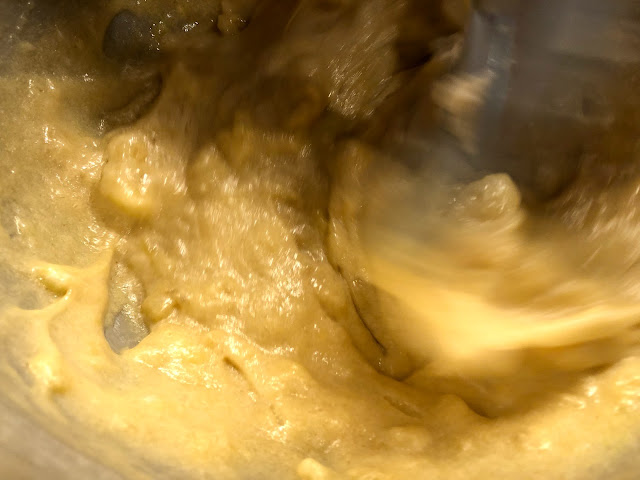
I broke the bananas into manageable chunks and threw them into the mixer.
Dry ingredients were added next, alternating with--
The buttermilk!
The resulting batter is thickish.
I used a saimin spoon to carefully pour the batter into the molds, making sure they went into the corners.
Because of the finer details, I filled the molds a little more than I might have normally.
The rest of the batter went into the greased bowl.
The cakes in the mold started to rise over the top--this gave me some pretty anxious moments but they didn't spill over and I could see they were pulling away from the sides of the pan.
I cooled them for 5 minutes, held my breath, and tipped them onto a rack. They were fabulous and I was so relieved!
The cake in the bowl had a harder time--it was a dense cake and the black outer coating made the edges cook up faster, I think.
Fortunately, it came out ok, too.

I decided I wanted to try a Swiss meringue buttercream so I separated the eggs and added the whites to some sugar.
I whisked them together and placed the bowl over a pan of simmering water.
The water needs to be simmering but you don't want to have so much water in it that it'll hit the bottom of the bowl.
I whisked the whites and sugar over the water until the sugar had melted and the mixture went from tacky to thin and frothy.
I carefully dropped a bit onto my finger to check the texture.
I whipped the mixture until stiff peaks formed.
Yup.
It takes about 10 minutes to get to this point--the bowl and meringue should have reached room temperature at this point.
I added butter a chunk at a time until they were well-incorporated.
This is when I started having buttercream flashbacks because the mixture was really not as firm as it should have been at this point.
Hmmm. I think I should have put the meringue into the fridge for a few minutes before I added the butter. Remember, it's hot here. I did have the a/c going but the house really hadn't cooled long enough since I had it off while the cakes baked.
I refrigerated the buttercream until it firmed up and decided to simplify my frosting plans. I added some black color paste to a little of the frosting. I also stuck the toothpick that I used to add the coloring into my mouth and even that tiny amount turned my lips and teeth completely black. I looked like I had the worst case of tooth decay. And I had a dental visit the next morning. Fortunately a few good brushes took care of that!
Rather than frost each insect, I used an icing pen to outline the details in white buttercream and then I blasted them with lots of colorful glitter. I colored most of the buttercream for the ladybug's body, used the black buttercream for her face, and then used marshmallows and Junior Mints for her eyes and spots.
My Layla-bug was delighted with her cakes! She even licked the frosting off her fingers--that's pretty huge for her. Happy birthday, Buggy! We all love you so very much!
Here are the promised links:
Swiss Meringue Buttercream
This simple device is wonderfully easy to use! Just fill an icing bag with a nozzle and frosting, fit it into the body of the pen, snap on the handle, and a little gentle pressure exudes the frosting, just where you want it. I want to try it when I am not as pressured and my buttercream is firmly set!


Comments
Post a Comment